I grew up in the household which considered cottage cheese an ultimate super-food. According to my mother and my grandmother, it could cure anything from a cold to Bubonic plague. Not eating or not liking the cottage cheese was unacceptable; it was an offence that could only be equated to running off and joining a traveling circus. I still have very vivid memories of my grandfather (well-educated and respected doctor) force feeding cottage cheese to the family dog. What is good for the human must be good for the beast, don’t mind you that most dogs are lactose intolerant…
My mother mostly made her own cottage cheese but when she did not, we would go to the farmer market and browse and taste dozens until my mother found the one she liked. The farmer’s market back in the Soviet Union was not truly a place for the farmer to sell their lives work. Since all farming was centralized under the government, the folks at these markets sold what excess they grew in their tiny yards. The cheese isle would consist of old ladies selling the cheese they made that morning, from the milk of their own cow and they usually had only a few pounds to sell. Each was made the way they made cheese for generations, still smelling of the fresh cow’s milk. I remember those round heads of cheese with the cheese cloth markings, slightly yellow and one so different from the next. My mother would taste each one, and as wine connoisseur would make comments on the quality of the milk used, fattiness, flavor and the personal hygiene of the lady she was considering buying from. She pointed out the dryness or excess wetness, overly prominent tanginess and plain sourness. And so we went through what seemed like the endless isle of the heads of cottage cheese, smelling and tasting. I hated it…
With all of my family’s romantic notions of the stuff, I grew up despising the taste, the smell and even the process of making cottage cheese. No matter how served, with jam or honey or baked into little cakes, I hated it. I grew up swearing that I would never touch the stuff when I am an adult.
Many years later, long after my mother passed, I was sharing a simple lunch with my than future father-in-law. There was not many to choose from, some cottage cheese and some cooked pasta. We made our plates, just plain hot pasta mixed with the cottage cheese, his with a bit of salt; mine with a bit of sugar. The familiar taste hit me like a ton of bricks; it was the taste of my childhood, long forgotten and now very nostalgic and satisfying. After that day, I gave the cottage cheese another chance. I love it now; I make my own, having figured out how to vary the texture and the taste. It makes for a great snack or breakfast and once in a while the look of cheese cloth marks on the round, creamy ball takes me back to my mother’s kitchen.
Makes about 2 lbs of cheese
¾ gallon organic whole milk (see note)
1 ½ cups of yogurt with live active cultures or the same amount of starter (keep reading). important as it is the predominant flavor. I like using organic, grass-fed whole milk, but you can substitute with 2% milk, just do not use skim.
Note: The quality of the milk is
Heat all the milk in a large pot, until hot but not boiling.
Mix well with the yogurt or a starter and place in a large container.

I like to use the Greek style yogurt as an initial starter, but you can use any kind of plain yogurt as long as the package indicates the presence of live active cultures.

Turn the oven light on and place the container with the milk mixture in your oven, directly next to the light for 24 hrs. The heat from the lamp creates a constant temperature for the cultures to do their thing. You can also wrap the container in an electric heating pad, set on the lowest setting and keep wrapped for 24 hrs.
After 24 hr, take the container out of the oven and stir. You will have a great yogurt, which you can use as such if the cottage cheese is not your forte. Just make sure to leave the last few cups and use as a starter for the next batch.
If you are indeed set out to make the cheese, place all but 2 cups of yogurt in a large pot over medium heat. Save the remaining to 2 cups in the fridge as a starter for the next batch. Heat the mixture until it begins to curdle and the whey begins to separate. This usually happens around the boiling point. Do not let the mixture boil and remember the longer you keep it on the heat, the more the curdles will separate and the drier the cheese will be.

Strain into a colander lined with 2 layers of cheese cloth

Tighten the cheese cloth around the mixture and let it drain.
You can softly press on the cheese to drain more whey out;
this will yield a drier, studier cheese, similar to pot cheese.
Which is how I make mine, on the drier side.

You can hang the cheese for a few hours and let it drain under its own weight.

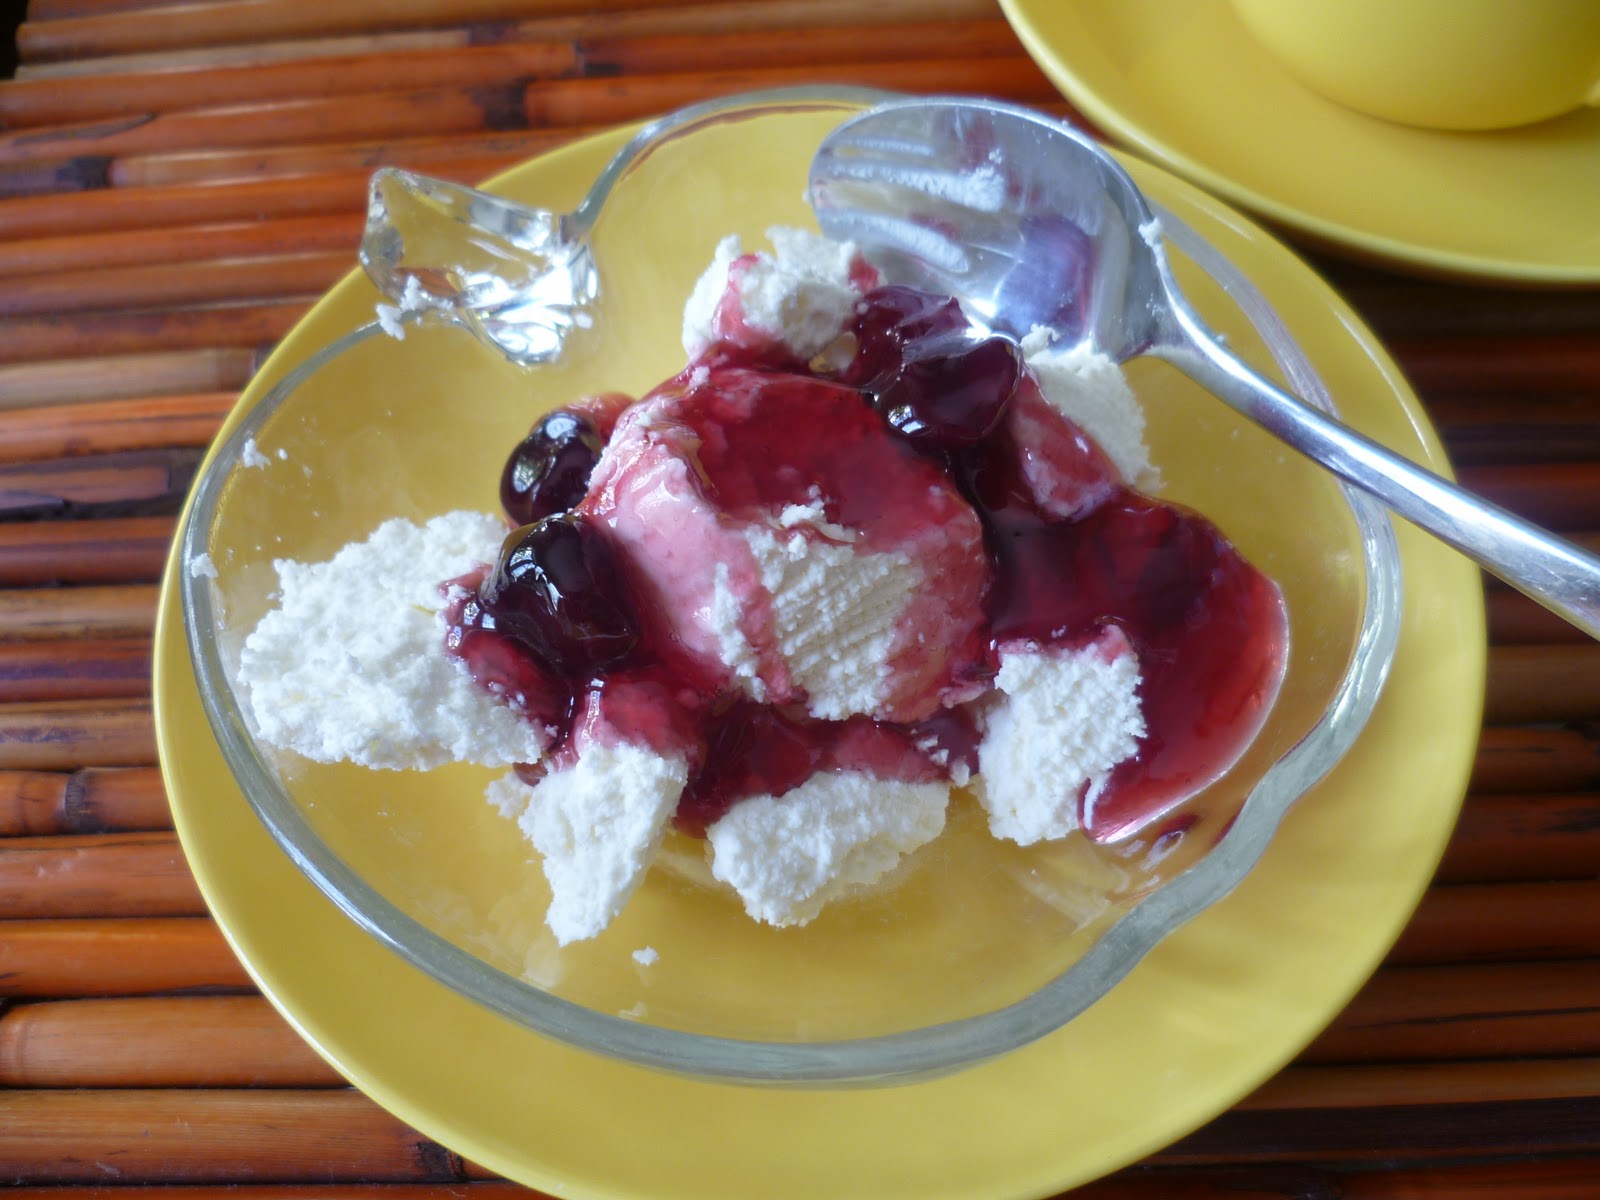
Once drained, it will keep in the fridge for up to a week to 10 days. Use in recipes that call for ricotta, serve on its own with jam or honey or spread on crackers with a some cucumbers, radishes and a sprinkle of coarse salt.
Enjoy and take pride in the fact that you just made cheese!

My grandparent’s version of breakfast of champions.

No comments:
Post a Comment